Configure Enterprise
What is luckycloud Enterprise (Plus)?
luckycloud Enterprise and luckycloud Enterprise Plus are the top-tier of our cloud products for freelancers and companies. They offer the most extensive range of features. Both company members and external users can be served with sync functions. The Private Cloud can be realized according to internal company guidelines thanks to White Label with its own frontend and domain.
Enterprise Plus offers you additional features such as virus scanning, employee activity overview, and multiple separate data rooms for end customers or resellers.
(1) Order luckycloud Enterprise (Plus)
We create a custom cloud server for you with just a few clicks, tailored specifically to your requirements and needs. Check out the luckycloud tutorial to learn how to create your Enterprise account with just a few clicks.
Here we explain step by step how to create an Enterprise account in just a few steps:
- Go to our website. Hover your mouse over the "Product" tab in the menu bar. Under "Cloud Services" you will find "Enterprise".
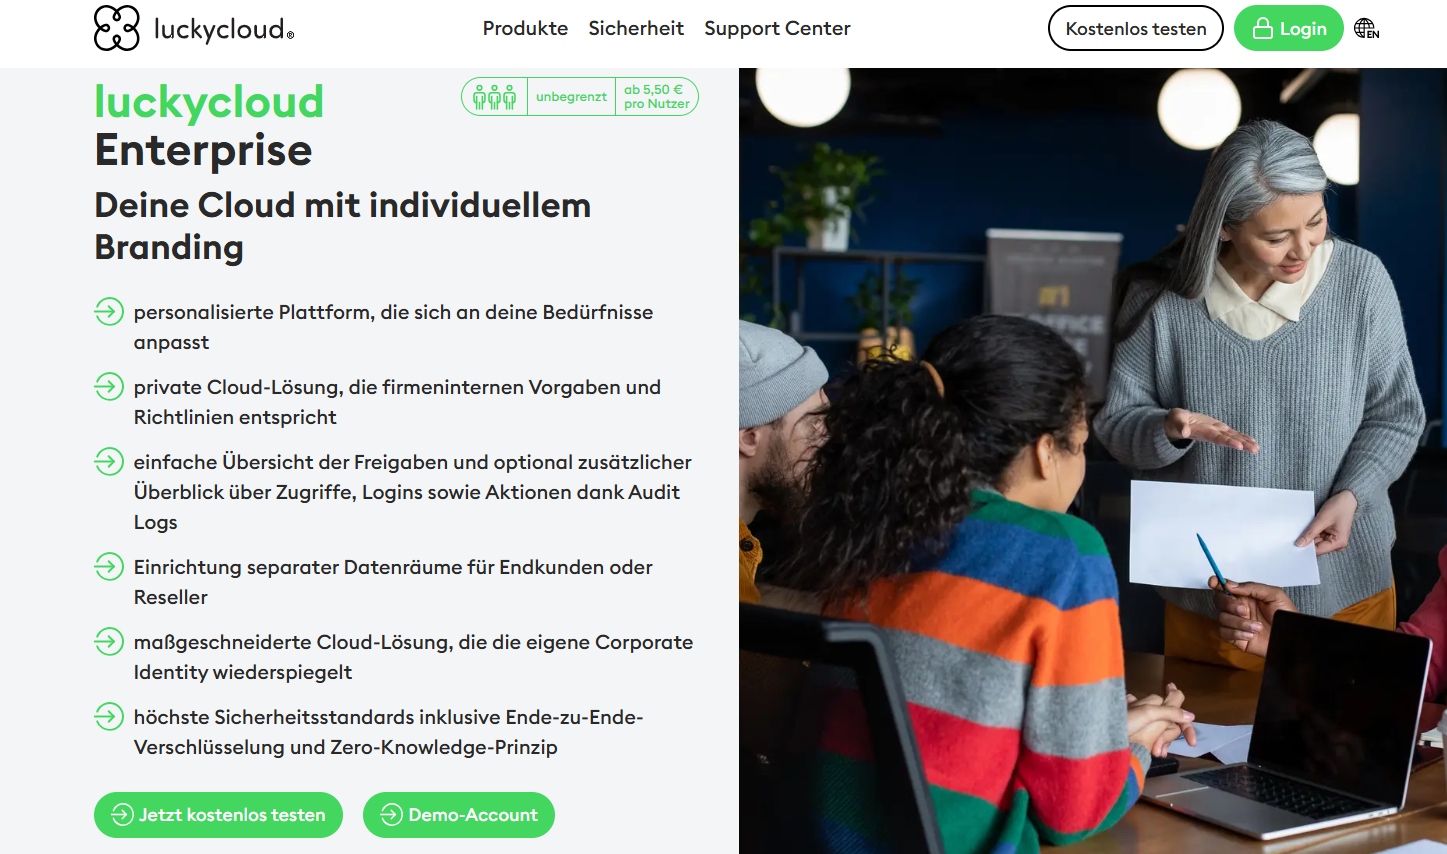
- Click on "Enterprise" and you will be taken to the overview page of luckycloud Enterprise.
- There you will find the option "Try for free now". Alternatively, you can also create a demo account.

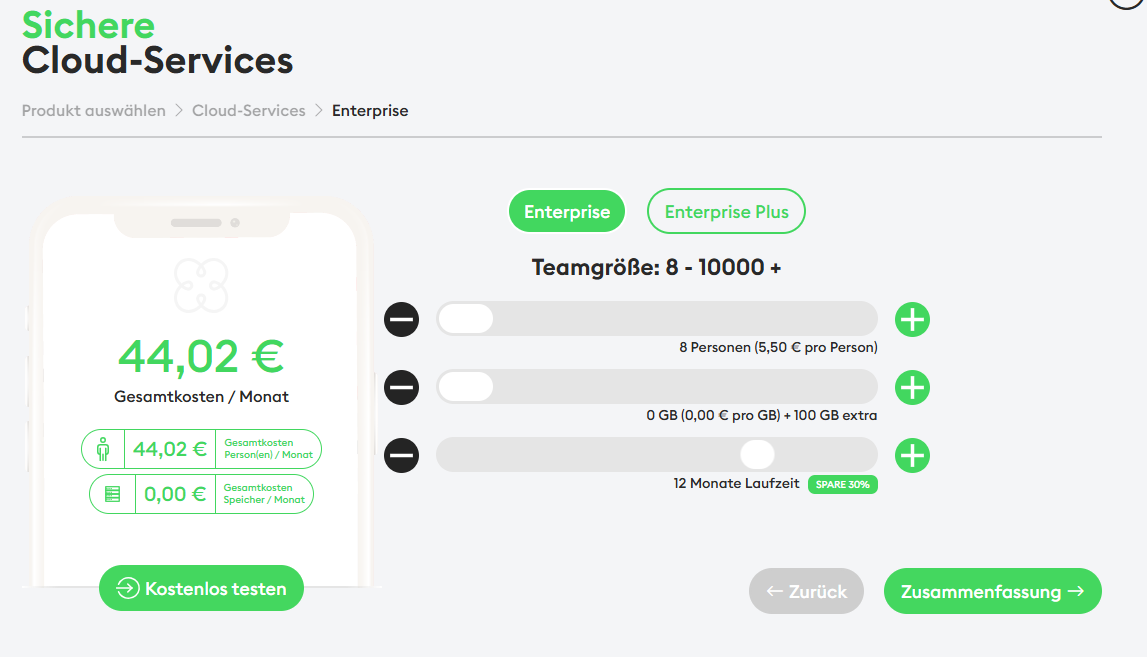
- A pop-up window will then open. First, choose whether you want to book luckycloud Enterprise or luckycloud Enterprise Plus. Now you can set the team size, storage volume, and duration. You can start with eight users. At luckycloud, 100 GB per data room is included. If you want more than eight users and/or 100 GB, you need to move the slider to the right at the appropriate place.

- You will then receive a summary of the selected details and costs.
- Now you just need to enter your email address and set a password for your luckycloud profile.
- Accept the terms and conditions and click on the "Create Account" button.
- In the next step, you can choose a payment method and a billing interval. Depending on the desired payment method, you need to fill in the corresponding payment information or you will be redirected to a further page to create a payment order.
- Then you need to enter a subdomain through which your cloud will later be accessible (e.g., cloud.my-domain.com).
- Finally, give your cloud a name, such as My Company Cloud.
(2) Configure and style luckycloud Enterprise
luckycloud Enterprise not only offers extensive features for managing data and employees but also creates unique brand experiences for customers and partners. Because luckycloud visually adapts to your wishes: You receive your own frontend and can use your existing corporate identity including logo and style guide. Upload a logo, favicon, and background image and choose two colors for your cloud. Apply the design with "Review". You can also skip this step, in which case the standard frontend of luckycloud will be used.
(3) Set domain settings for luckycloud Enterprise
Your cloud gets an individual subdomain that you determined during cloud creation. Now you need to set a few domain settings – so-called DNS entries, specifically "CNAMES". Sounds complicated? But it's not, we promise!
- First, you need to log in to your domain provider.
- In this guide, we refer to the most well-known provider in Germany: 1&1 or IONOS.
- After logging in to the domain provider, navigate to the corresponding domain and open the settings by clicking on the respective domain.
- Then click on "DNS Settings" in the selection bar at the top.
- Now you can see your various domain records. Click on "Create Record" and select "CNAME" as the type.
- Open a new browser window and log in at www.luckycloud.de with your Enterprise account as an administrator.
- At the top, you can see your data room, marked with a red status message "Configuration incomplete". Click on the small green i-symbol.
- A hint window will open where you can see two different CNAME entries, which should look like this:
For simplicity, we work with the following subdomain as an example:
cloud.company.com
| Record | Host | Points to | TTL |
|---|---|---|---|
| CNAME Entry: | cloud | draa8c58eff72511ea814eea5aebe81bd9.lc-dataroom.de | Time period in which the setting should be applied. |
- Now you just need to copy the entries from your dashboard and paste them at the appropriate place with your domain provider. Then save the records.
Note:
- Do NOT copy the entries from this table, as each domain gets individual entries.
- You need to set a total of two CNAME entries.
- If you have specified a default TTL of one hour, it can take up to an hour for new settings to be applied.
- After you have done this, we will conduct a quality check of your data room. This may take some time. If the status in your dashboard does not change within 48 hours, please contact us.
Do you need help or have questions? Our support is happy to assist you!